A custom plush toy is a surprisingly complex product. It must satisfy the designer's sketch, survive the stress of being hugged and washed, meet the safety regulations of its destination market, and arrive at a price that works commercially. Getting all of that right requires a defined process, executed in the right order.
This guide walks through the full production flow of a custom plush toy, from the very first sketch to the packed carton — and explains what happens at each stage and why it matters.
Stage 1: Design and Specification
Everything starts with a brief. The clearer the brief, the faster and more accurate the result.
A complete plush toy brief should cover:
- Reference artwork — front, side and back views. A 3D file or multiple angles dramatically improves accuracy.
- Size — total height or length, and the unit of measurement.
- Fabric preferences — plush type, pile height and colour direction.
- Colour palette — with Pantone references wherever possible.
- Feature details — embroidered or printed eyes, appliqué panels, accessories, clothing, sound modules.
- Target market and certification — which safety standard the toy must pass.
- Target quantity — which determines tooling and production planning.
At this stage the factory's design team also assesses manufacturability: whether a shape can be stitched, whether a colour can be reproduced in the chosen fabric, and where the seams should run.
Stage 2: Pattern Making
A plush toy is a three-dimensional object built from flat pieces of fabric. The pattern is the set of flat shapes that, when cut and sewn together, form the intended 3D form.
Pattern making is skilled work. The pattern engineer must add seam allowance, plan where the toy will be turned inside out, place the stuffing opening, and position darts or gussets to create volume where the design requires it. A well-made pattern is the foundation of a toy that looks correct from every angle rather than only from the front.
Stage 3: Prototyping and Sampling
The first physical sample — often called the prototype — is where the design meets reality. Typically a factory will produce two to three rounds before approval:
- First sample. Checks overall proportion, shape and construction. Changes at this stage are common and expected.
- Revised sample. Incorporates feedback on proportions, expression, fabric and colour.
- Golden sample (pre-production sample). The approved reference. It is signed off by both parties and becomes the benchmark for the entire production run.
Sampling usually takes one to three weeks per round, depending on complexity. Buying the sampling stage short is a false economy — every problem fixed on a sample is far cheaper than the same problem fixed after mass production.
Stage 4: Fabric Cutting
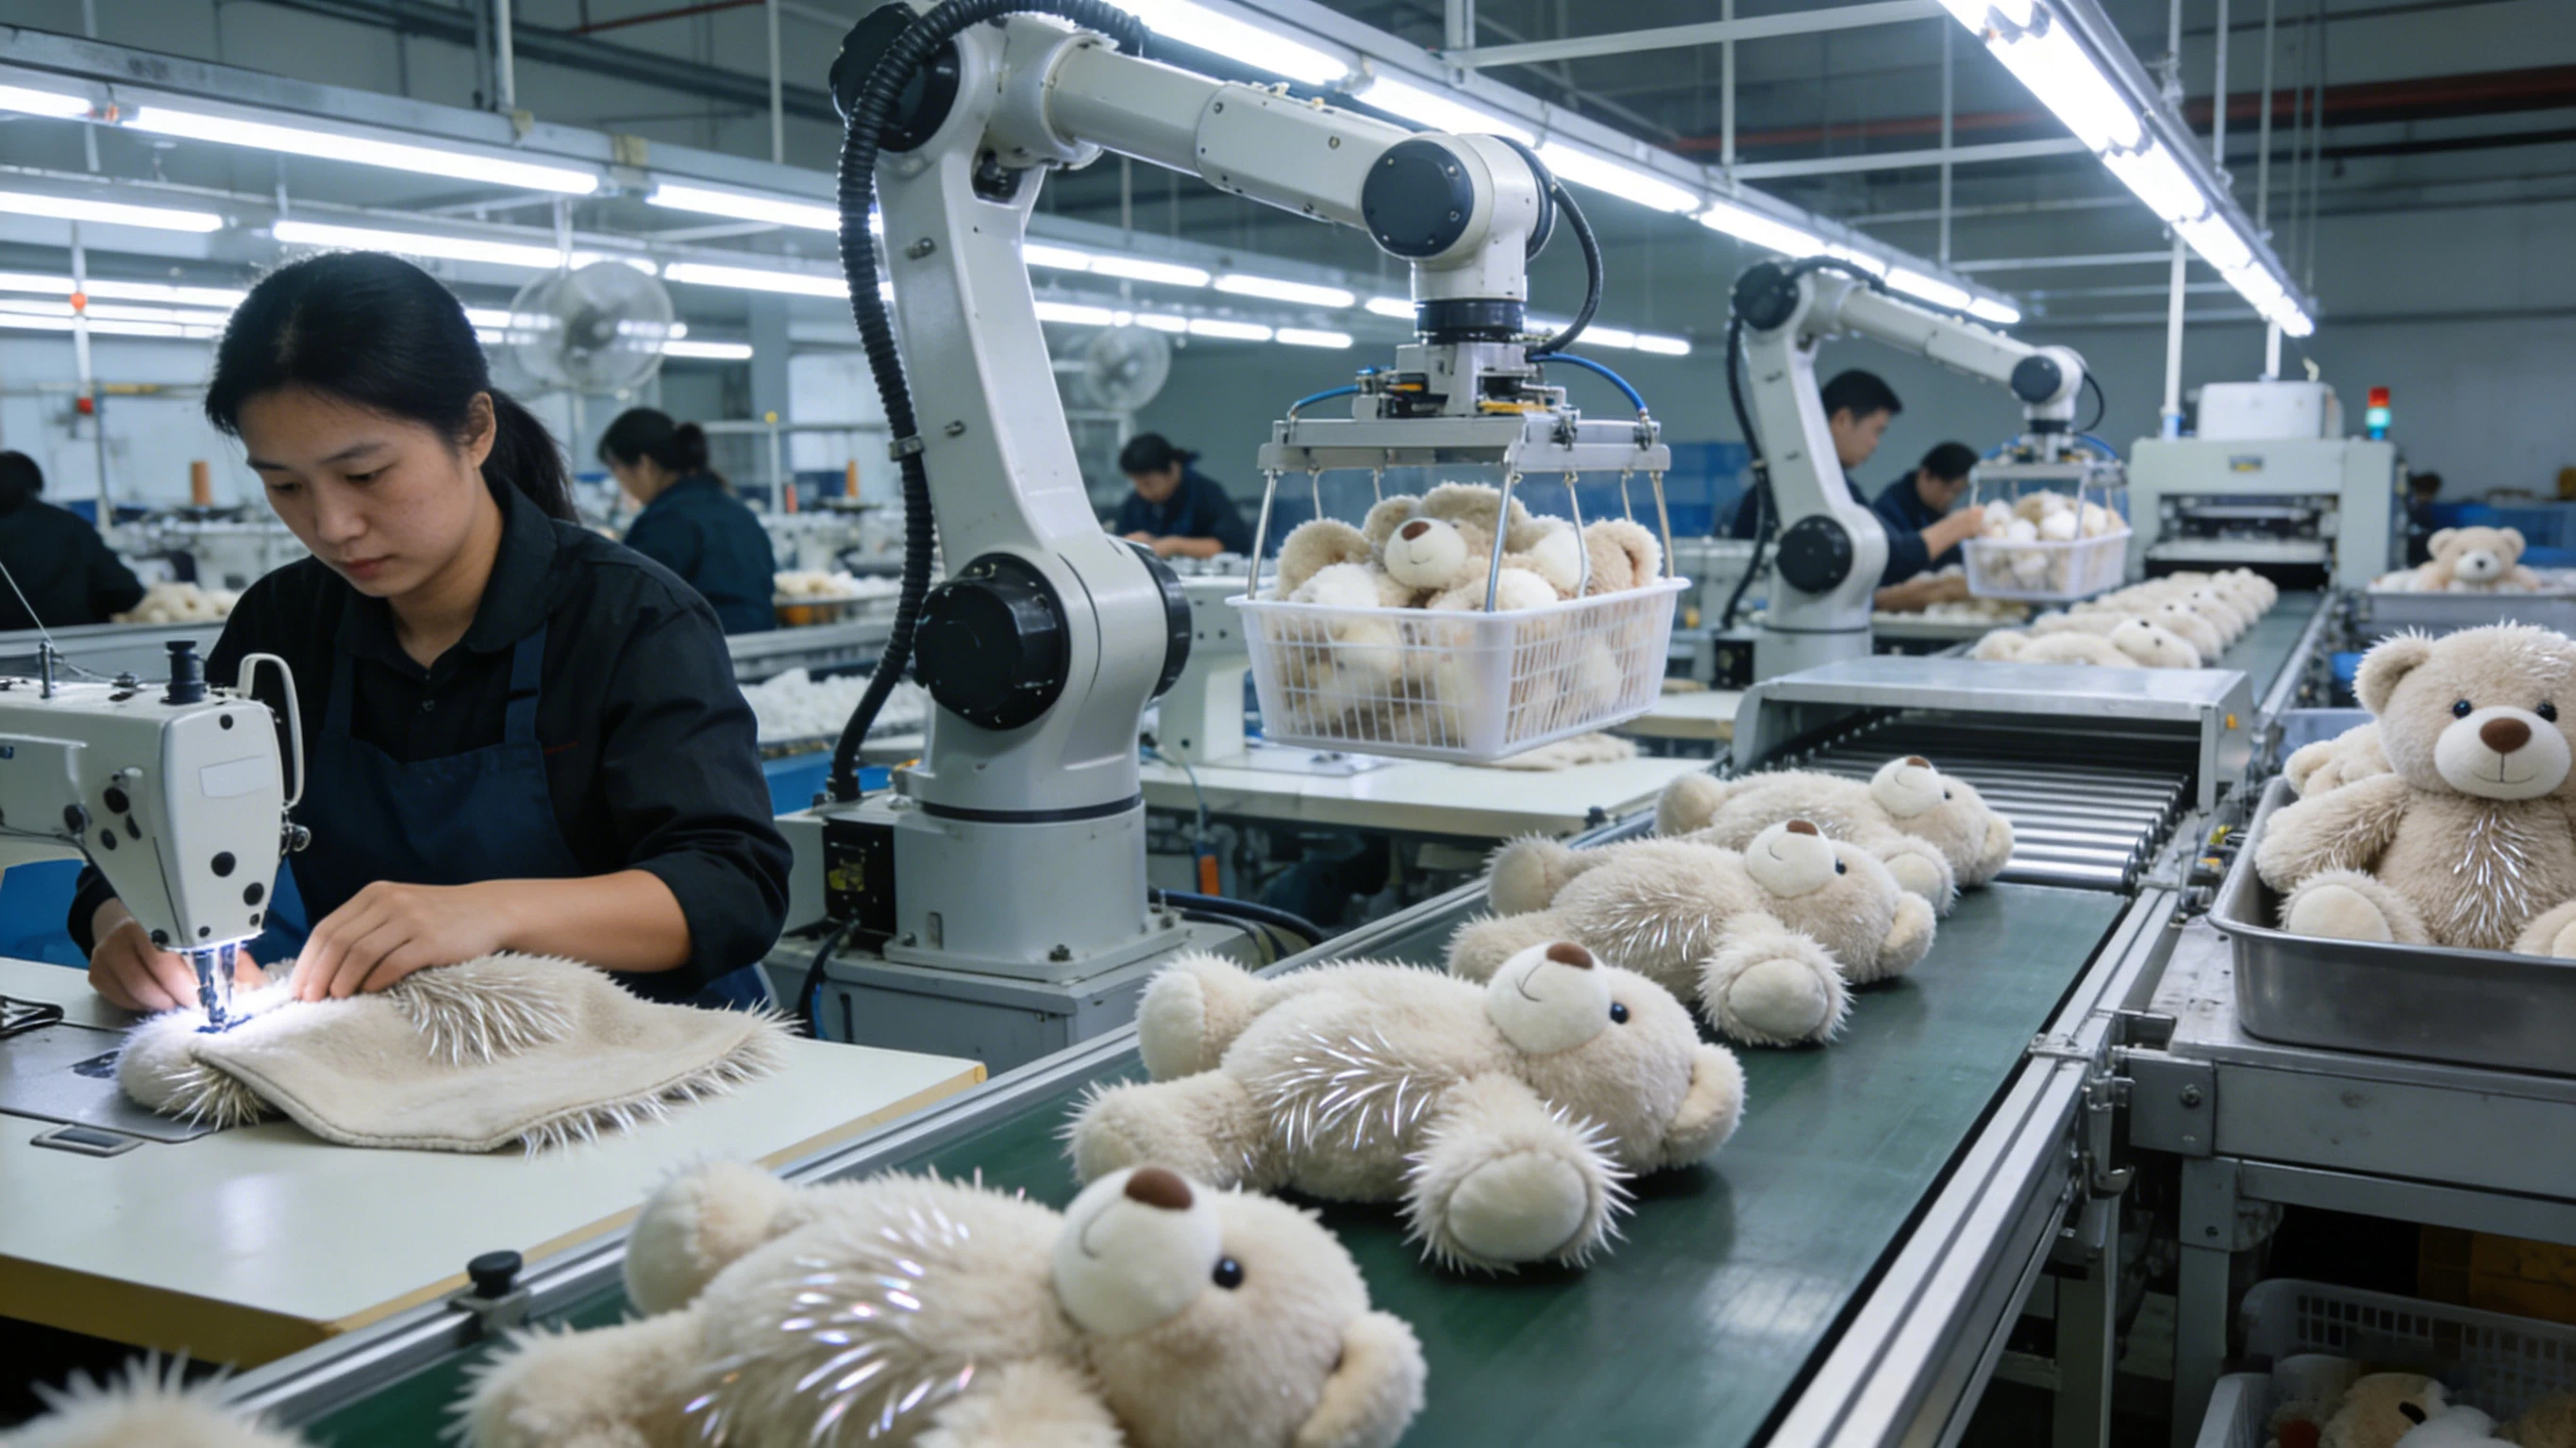
Once the golden sample is approved, production begins with cutting. Depending on volume, plush fabric is cut either by hand (for small runs and complex shapes) or by die-cutting and automated cutting machines (for larger runs, where consistency and speed matter).
Cutting must account for the direction of the fabric's pile. Cut pieces in the wrong direction and the finished toy shows patches that reflect light differently — a defect that is invisible until the toy is assembled and is impossible to fix afterwards.
Stage 5: Printing and Embroidery
Before assembly, face features and decorative details are applied:
- Embroidery is the preferred method for eyes, noses, mouths and small logos. Embroidered features are durable, washable and — for children's products — far safer than attached components.
- Screen printing and heat transfer are used for larger graphics, patterns and fine colour detail on short pile fabric.
- Appliqué creates layered colour panels by stitching cut fabric shapes onto the body.
Safety note: for infant and toddler products, embroidered or printed features are strongly preferred over plastic eyes and noses, which can present a choking hazard if they detach.
Stage 6: Sewing and Assembly
Sewing is where the toy takes shape. Experienced operators work in a defined sequence — typically torso, limbs, head, then final assembly — so that proportions stay consistent and seams sit where the pattern intends.
Seam strength is critical. Plush toys are pulled, squeezed and washed, and a weak seam is one of the most common causes of returns. Professional factories specify stitch type, stitch density and thread strength, and inspect seam integrity during production rather than only at the end.
Stage 7: Stuffing and Weighting
At this stage the toy is turned right side out and filled. As covered in our filling guide, the key variables are the filling material, the fill weight per unit and the firmness target.
Skilled stuffing is done in stages with the toy shape carefully controlled throughout. Where a toy must sit or stand on its own, the base is weighted — commonly with plastic pellets in a sealed inner bag — which also improves the sense of quality.
Stage 8: Closing, Trimming and Finishing
After stuffing, the closing seam is stitched — often by hand, using a ladder stitch that becomes nearly invisible. Operators then trim loose threads, brush the pile back into place, and remove any fabric dust. This finishing stage has a disproportionate effect on how premium the final toy looks, and it is one of the easiest places for a low-cost supplier to cut corners.
Stage 9: Quality Inspection
Inspection should run throughout production, not only at the end. A professional process includes:
- In-line inspection during cutting, sewing and stuffing, catching defects before they are built into the finished item.
- Final inspection before packing, checking appearance, seam integrity, fill firmness, feature alignment, cleanliness and labelling.
- AQL sampling — the standard approach is AQL 2.5 for major defects, applied to a statistically determined sample size per batch.
- Safety testing — physical and chemical tests against the applicable standard, such as EN 71 for Europe, ASTM F963 and CPSIA for the United States, or equivalent requirements for other markets.
Stage 10: Packing and Shipping
The final stage protects everything built before it. Toys are packed with the correct hang tag, care label, warning label and barcode for the destination market, then cartoned to a packing specification that survives international freight.
Where required, factories also handle retail-ready packing — poly bags with suffocation warnings, individual boxes, or display cartons — and can ship on behalf of the buyer.
Typical Timeline
| Stage | Typical duration |
|---|---|
| Design and specification | 3–7 days |
| Pattern making | 3–5 days |
| Sampling (per round) | 1–3 weeks |
| Mass production (after approval) | 3–5 weeks |
| Inspection and testing | 3–7 days |
| Packing and shipping preparation | 3–5 days |
Times vary with complexity, quantity and the number of sampling rounds, but a realistic overall timeline for a new custom plush toy is six to twelve weeks from brief to shipment.
What Separates a Good Plush Toy from a Great One
Every factory can cut and sew fabric. What distinguishes an experienced manufacturer is attention to the stages that are easy to skip: pattern engineering that produces correct proportion, stitching discipline that survives years of use, staged stuffing that gives the right feel, finishing that makes the toy look premium, and inspection that catches problems before the buyer ever sees them.
That is the real difference between a supplier and a manufacturing partner — and it is why the process, not just the price sheet, deserves your attention when sourcing.